I. Introduction to Repairing Unavailable Parts
II. Benefits of Using Molding for Repair
III. Steps for Using Molding for Professional Results
IV. Tips for Achieving a Seamless Finish
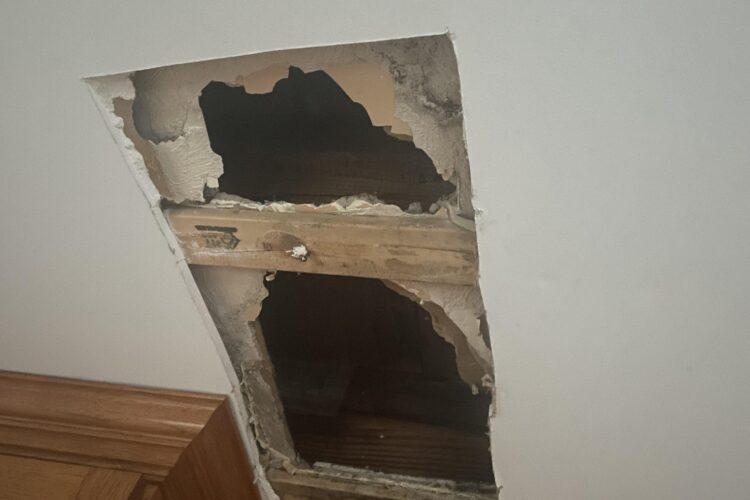
Have you ever found yourself in a situation where a crucial part of a beloved item is no longer available for purchase? It can be frustrating and disappointing, especially when that item holds sentimental value or is essential for daily use. But fear not, there is a solution – repairing unavailable parts!
Repairing unavailable parts may seem like a daunting task, but with the right techniques and tools, it is entirely possible to restore your item to its former glory. One of the most effective methods for repairing unavailable parts is by using molding. Molding allows you to create a replica of the missing part, ensuring a perfect fit and seamless finish.
Whether it’s a broken piece of furniture, a vintage car part, or a cherished family heirloom, molding can be a game-changer in the world of repairs. Not only does it provide a cost-effective solution, but it also gives you the freedom to restore your item without compromising on quality.
By using molding for repair, you can breathe new life into old or damaged items, preserving their history and functionality for years to come. With a little bit of patience and creativity, you can achieve professional results that will leave you feeling proud and accomplished.
So, the next time you find yourself faced with a broken or missing part, consider using molding for repair. It’s a tried and tested method that can make all the difference in bringing your item back to its former glory. Stay tuned for more tips and tricks on how to use molding for professional results!
II. Benefits of Using Molding for Repair
So, you’re faced with a dilemma – a crucial part of your beloved item is broken or missing, and it seems impossible to find a replacement. What do you do? Fear not, my friend, for there is a solution that might just save the day – molding!
Using molding for repair comes with a multitude of benefits that make it a popular choice among DIY enthusiasts and professionals alike. Let’s dive into some of the advantages of using molding for repairing unavailable parts:
- Cost-effective: One of the main benefits of using molding for repair is its cost-effectiveness. Instead of spending a fortune on trying to find a rare replacement part, you can simply create a replica using molding materials that are readily available and affordable.
- Customization: Molding allows you to customize the shape, size, and design of the replacement part to perfectly fit your needs. Whether you’re looking to replicate intricate details or simply need a basic shape, molding gives you the flexibility to create a customized solution.
- Durability: When done correctly, molded parts can be just as durable as the original, if not more so. By choosing the right materials and techniques, you can ensure that your repaired part will stand the test of time.
- Accessibility: Finding a replacement part for older or rare items can be a daunting task. With molding, you can recreate the missing piece without having to search high and low for a match. It puts the power back in your hands to repair what seemed unrepairable.
- Creative Outlet: Using molding for repair is not only practical but also a chance to unleash your creativity. Whether you’re a seasoned DIYer or just starting out, molding allows you to experiment with different techniques and materials to achieve professional-looking results.
So, next time you find yourself in a sticky situation with a broken or missing part, consider the benefits of using molding for repair. It’s a versatile and cost-effective solution that can breathe new life into your cherished items. Get creative, get hands-on, and get ready to tackle any repair challenge with confidence!
Have you ever found yourself in a situation where a crucial part of your appliance or furniture is unavailable for replacement? Don’t worry, you can easily use molding to create a new part and get your item back in working order. Using molding for repair can be a cost-effective and efficient solution for fixing unavailable parts. In this article, we will discuss the steps for using molding to achieve professional results.
Steps for Using Molding for Professional Results
1. Assess the damage: Before you start the repair process, carefully assess the damage to determine the shape and size of the missing part. This will help you create an accurate mold that fits perfectly.
2. Choose the right molding material: There are various types of molding materials available, such as silicone, latex, and urethane. Choose a material that is suitable for the specific requirements of your repair job.
3. Create a mold: Once you have chosen the molding material, follow the instructions on how to create a mold of the missing part. Make sure to pour the material evenly and let it set according to the recommended time.
4. Remove the mold: Once the mold has set, carefully remove it from the original part. Be gentle to avoid damaging the mold, as it will be used to create the new part.
5. Prepare the replacement part: Use the mold to create a new part by filling it with the appropriate material, such as resin or plaster. Follow the instructions for mixing and pouring the material to ensure a smooth finish.
6. Clean and finish: Once the new part has set, carefully remove it from the mold and clean any excess material. Use sandpaper or a file to smooth out any rough edges and achieve a seamless finish.
7. Install the replacement part: Finally, install the new part in place of the missing one. Make sure it fits snugly and securely to ensure a successful repair.
Using molding for repair can be a rewarding process that allows you to restore your items to their former glory. By following these steps, you can achieve professional results and save money on expensive replacements. Remember to take your time and follow the instructions carefully to ensure a seamless finish.
Repairing unavailable parts can be a challenging task, but using molding can help you achieve professional results with ease. To make sure your repair is seamless, follow these tips:
- Prepare the surface: Before applying the molding, make sure the surface is clean and free of any debris or dust. This will ensure that the molding adheres properly and creates a smooth finish.
- Choose the right molding: Select a molding that matches the color and texture of the part you are repairing. This will help the repair blend in seamlessly with the rest of the item.
- Apply the molding evenly: Make sure to apply the molding evenly and smoothly to avoid any lumps or bumps. Use a steady hand and take your time to ensure a professional-looking finish.
- Sand and paint: Once the molding has dried, sand it down lightly to remove any imperfections. Then, paint over the repaired area to match the rest of the item. This final step will help to conceal the repair and make it virtually invisible.
By following these tips, you can achieve a seamless finish when using molding for repairing unavailable parts. Remember to take your time and pay attention to detail for professional results. With the right approach, you can make your repair look as good as new.


Comments